Weavly for switch users
Weavly has incorporated keyboard equivalents in its interface to allow for access through the use of digital onscreen keyboards, such as Grid 3 or Communicator 5. Educators can integrate Weavly keyboard shortcuts to set up these communication tools and enable learners with significant physical needs to use Weavly’s coding environment.
To set up these onscreen keyboards, we encourage educators to work with the learners and their trusted care partners, such as parents or teachers, to understand how to navigate digital interfaces and use assistive technologies, such as sip and puff or single/multiple switches.
Navigation
Weavly’s keyboard shortcuts
There is a setting for enabling keyboard shortcuts in the Weavly coding environment. The switch scanning navigation can use a combination of keyboard shortcuts to minimize the number of switch interactions and physical movements required.
Scanning
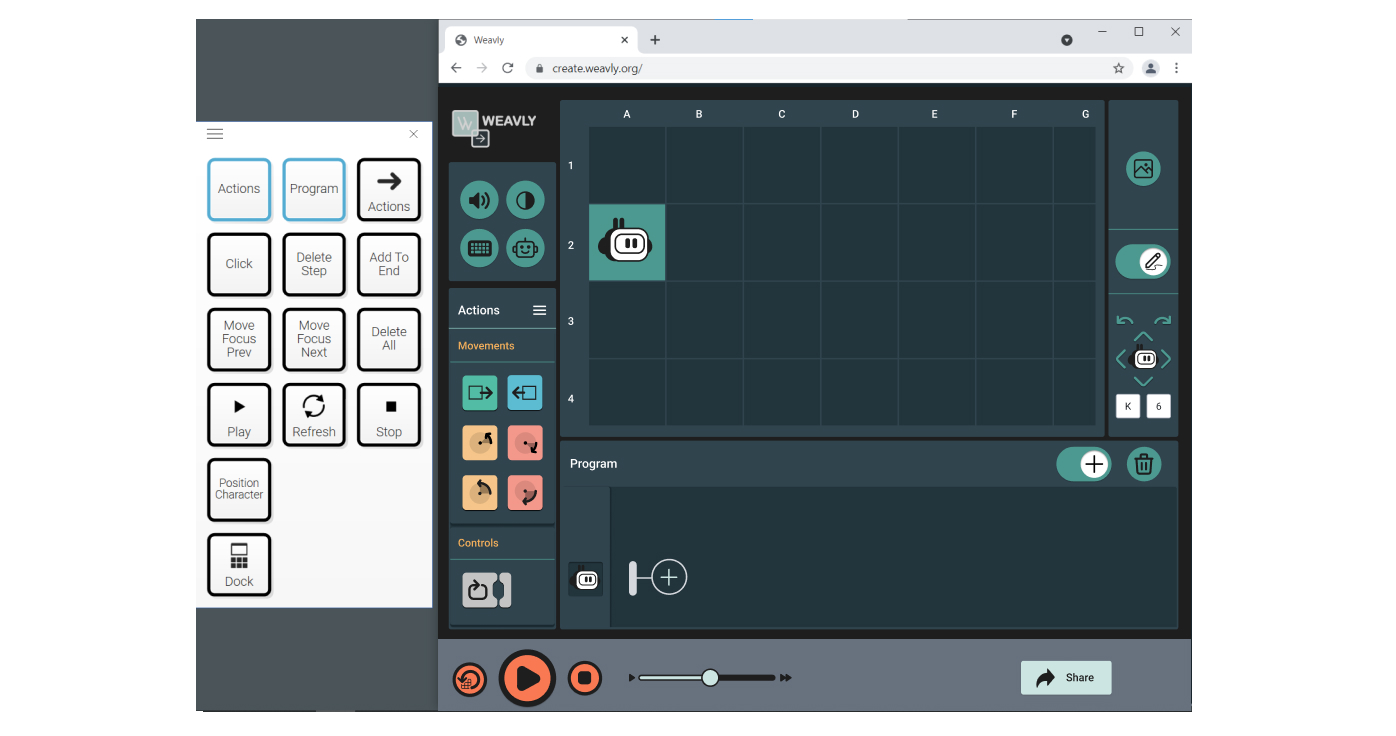
To increase ease of scanning and navigation efficiency, the items on Weavly can be grouped for row-column scanning. Please visit the keyboard shortcuts page to review the available commands, their associated keyboard shortcuts, and the related visuals icons to build the onscreen keyboards.
Sample Activity: Move the Robot from A2 to B2
Here is an example to demonstrate how onscreen keyboards can be used to operate the Weavly coding environment. The followng Grid3 onscreen keyboard is made with the Weavly keyboard shortcuts listed above. In this example, we try to build a program to move the onscreen character from grid cell A2 to grid cell B2.
Launch the Grid3 dock on your display.
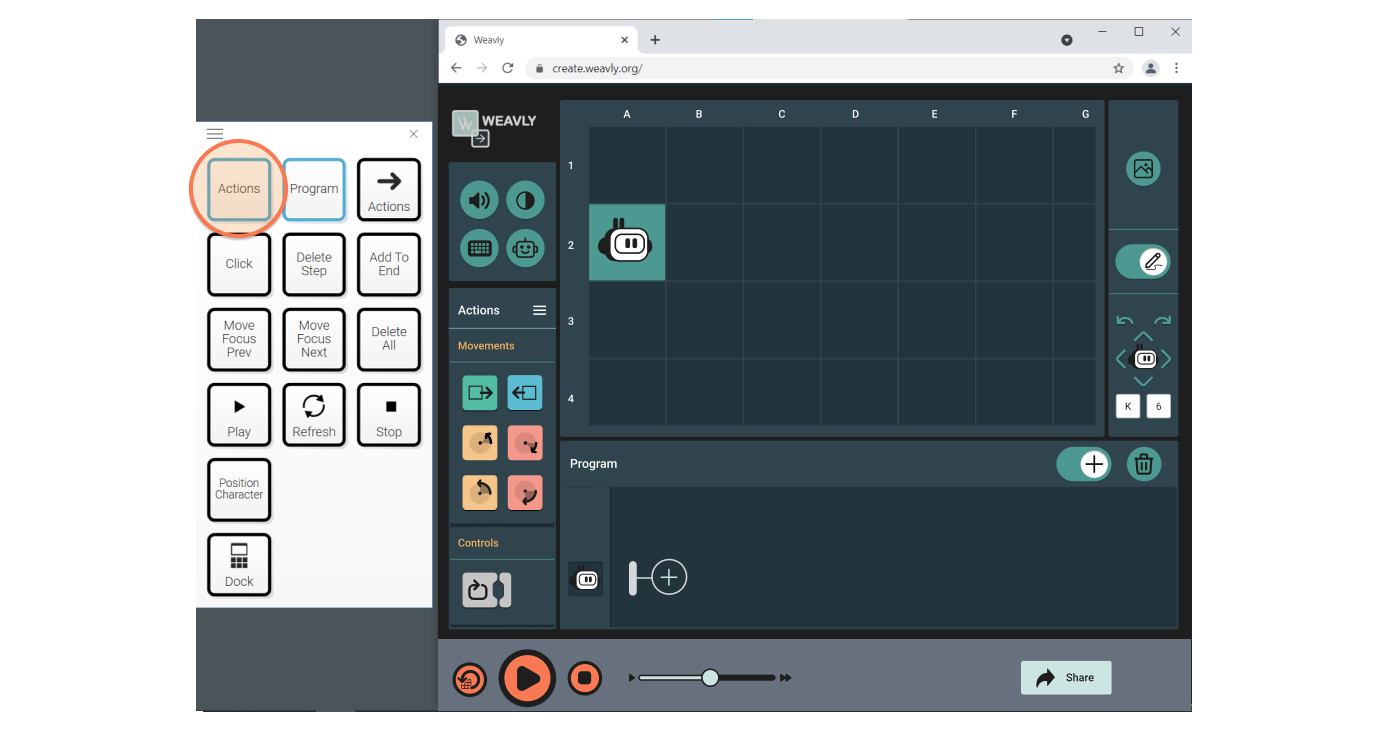
Select the “Actions” key on the Grid 3 onscreen keyboard to open the Actions panel including all the action blocks.
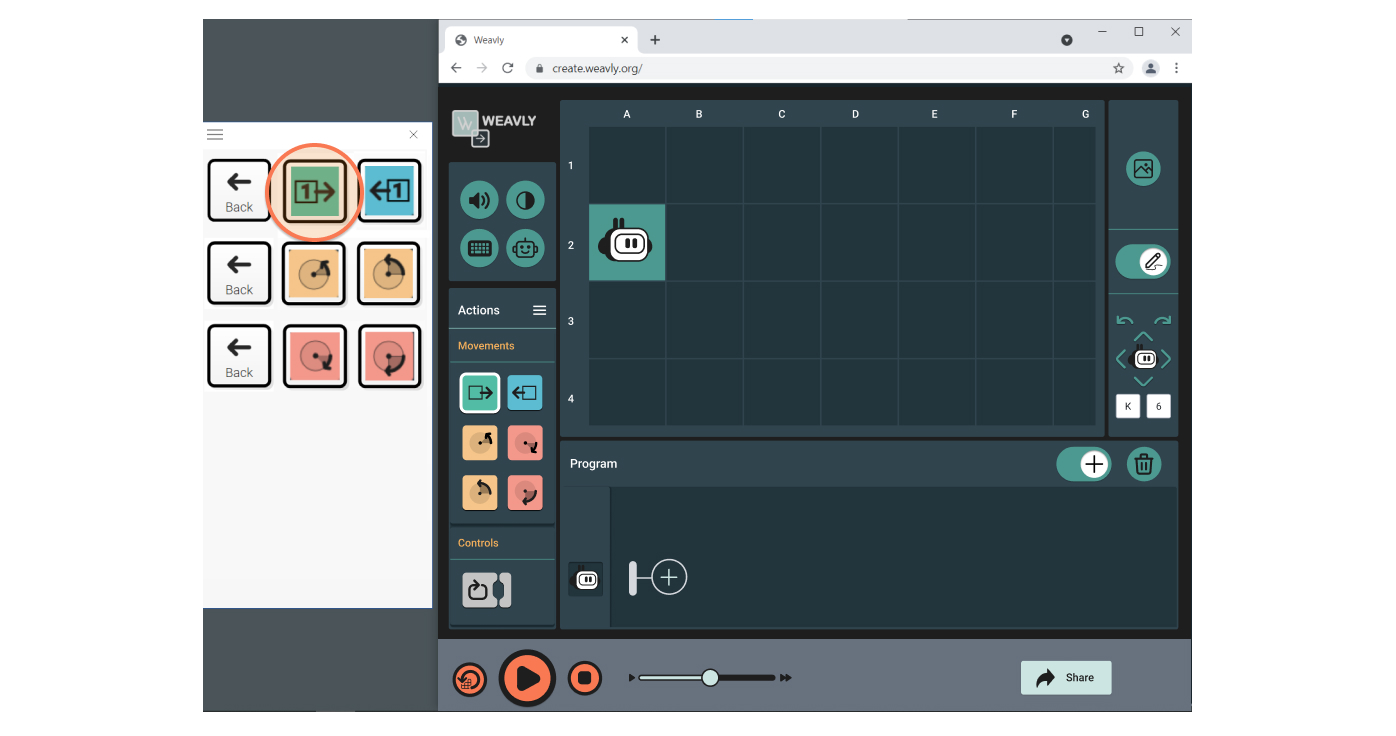
Select the “Move Forward 1 square” action block.
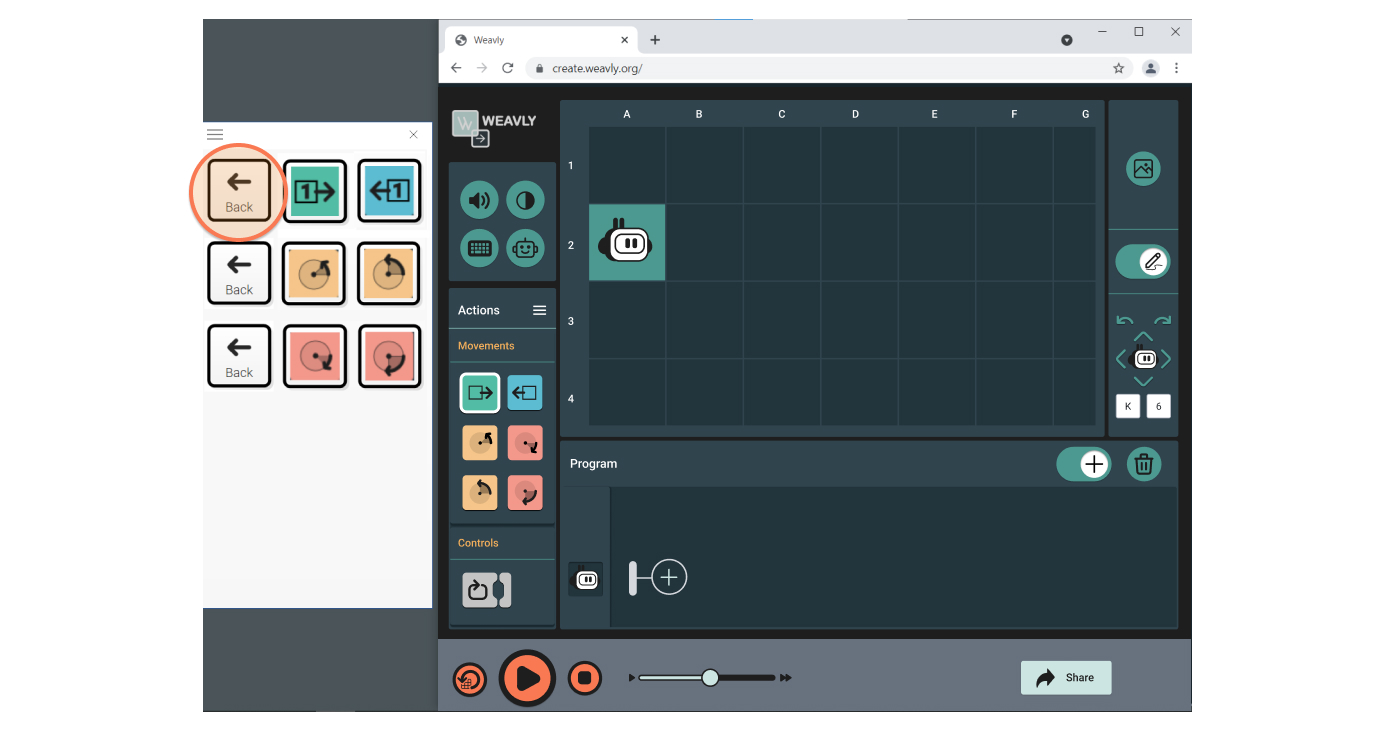
Select the “Back” key to go back to the Grid3 main panel.
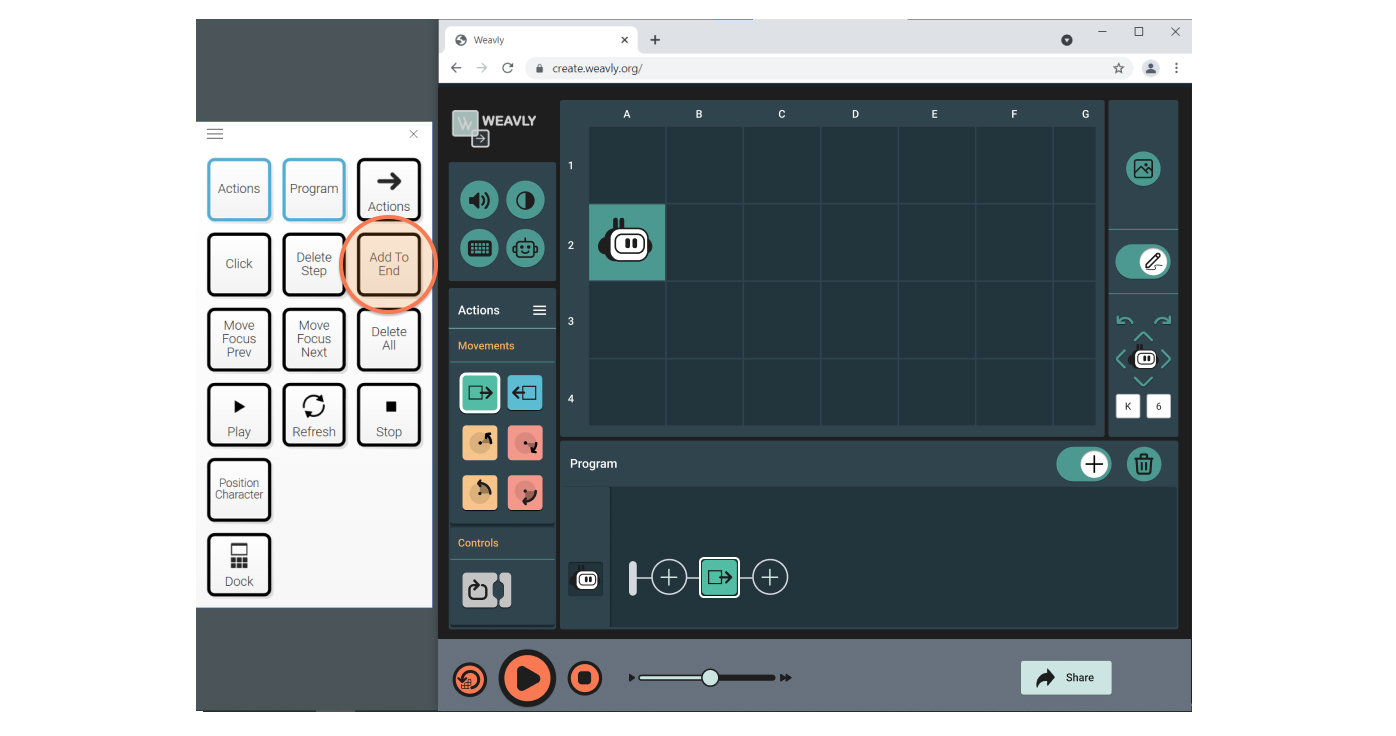
Select the “Add to End” key to add your selected action block to your program.
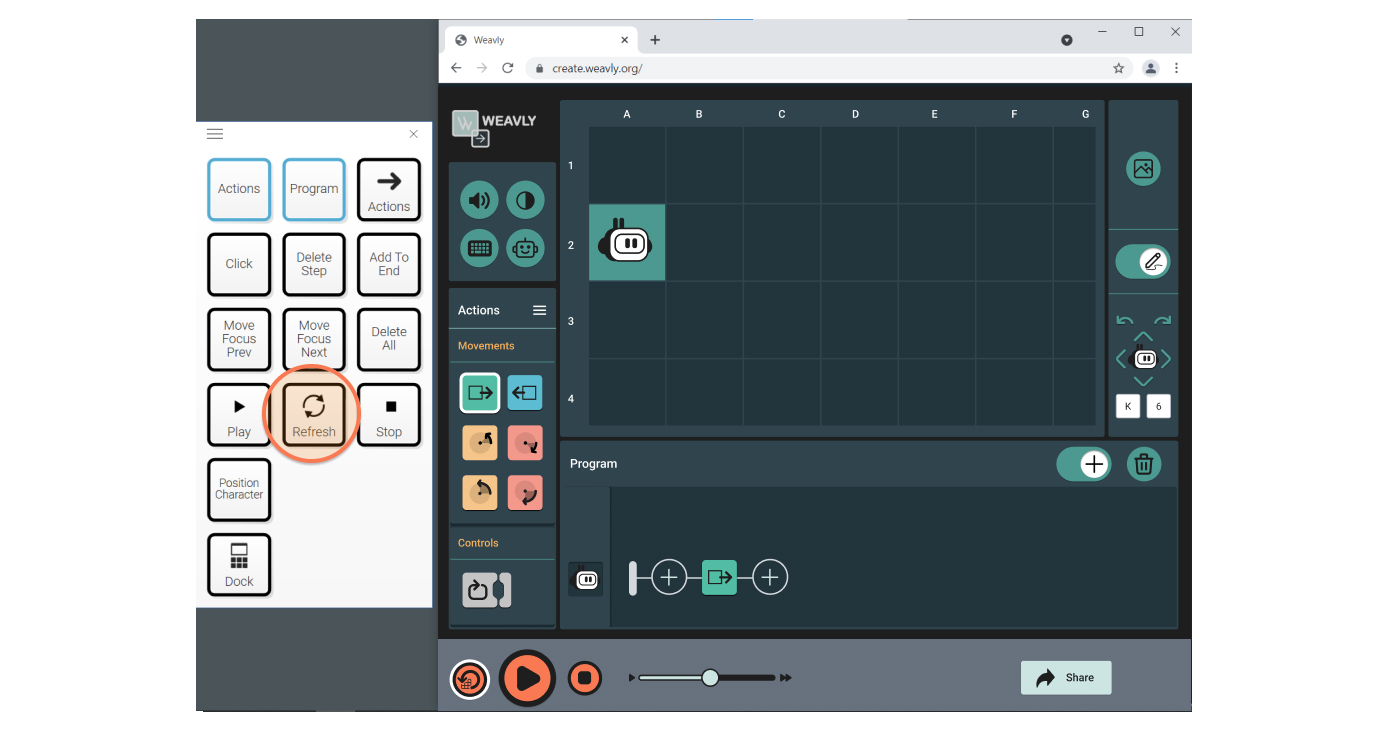
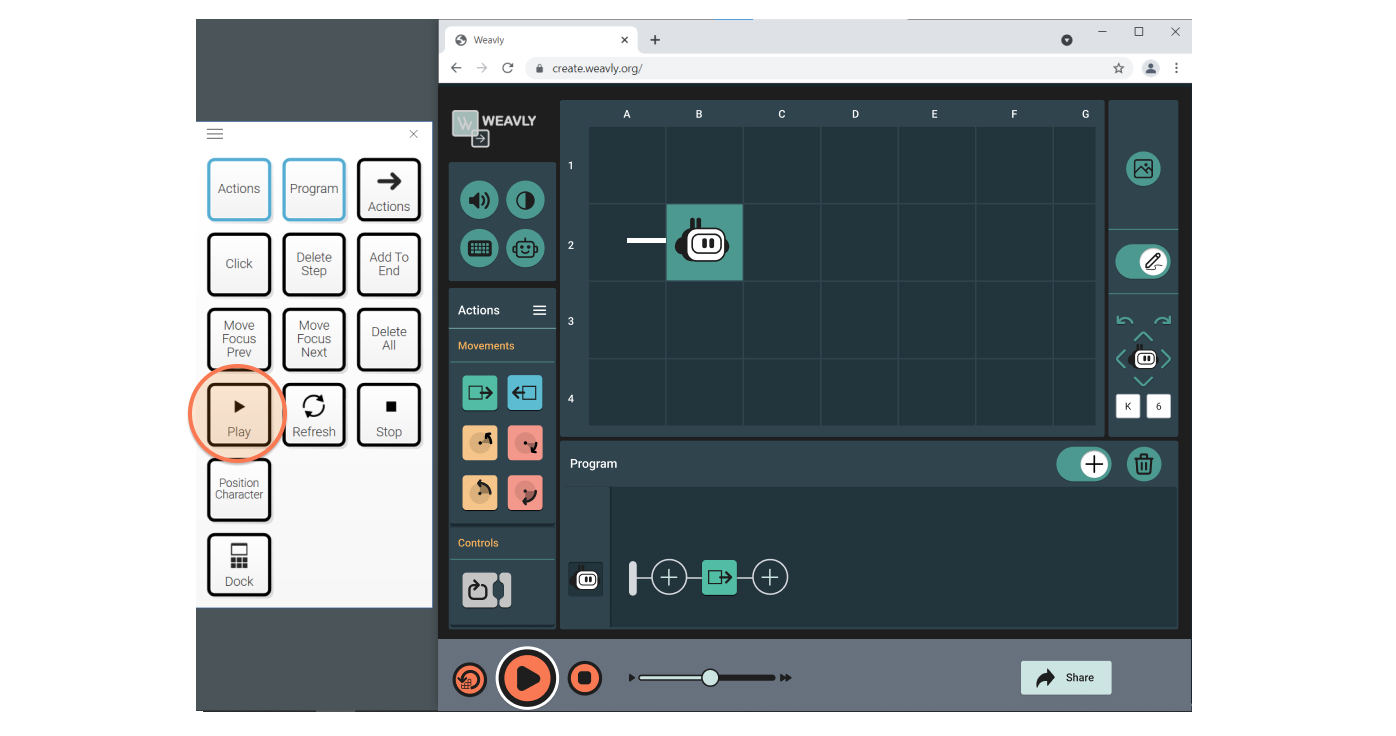
Select “Play” key on the Grid3 panel to play your program
Once program is played, select the “Refresh” key on the Grid3 panel to bring the character back to its original position on the scene.
