Using a Scanning Keyboard to Access Weavly
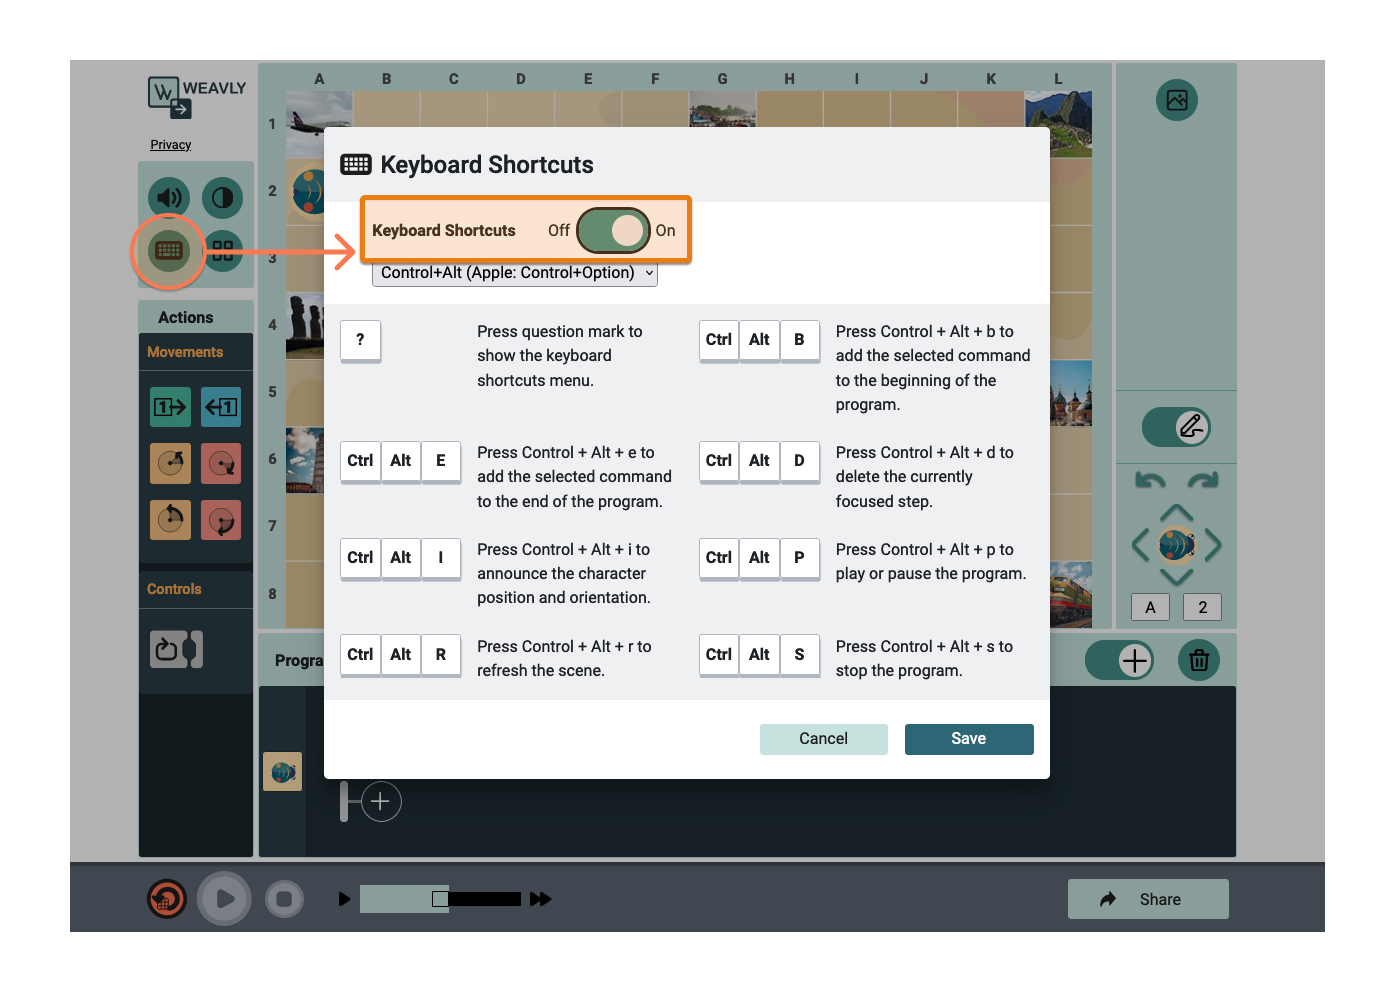
The following activity examples use the Grid 3 keyboard with the landmarks map background in Weavly. Please ensure that keyboard shortcuts have been turned on in Weavly.

Open the Grid 3 keyboard and use the Dock cell to dock the keyboard on the left side of Weavly.

Activity 1
Blue-Bot starts on the airplane (A1) facing the right side of the map and ends on the Great Pyramid (C2).
Step by step instruction
Text document outlining Step by step instruction for activity 1 using an onscreen keyboard
Activity 2
Blue-Bot starts on the airplane (A1) facing the bottom of the map and ends on the Windmills (H3).
Step by step instruction
Text document outlining Step by step instruction for activity 2 using an onscreen keyboard
Activity 3 - Debugging
Blue-Bot starts on the airplane (A1) facing the bottom of the map and ends on the Windmills (H3). You have created the program above, but instead of using turn right 90 degrees, turn left 90 degrees was selected. Therefore, the task is to replace the 90 degrees right turn with a 90 degree left turn.

After you have replaced your block with turn left 90 degree, refresh the position of Blue-Bot (the program will remember the last starting position on the airplane facing the bottom of the map) and replay the program sequence.
Step by step instruction
Text document outlining Step by step instruction for activity 3 using an onscreen keyboard
Activity 4
Blue-Bot starts on the airplane (A1) facing the right side of the map and ends on the Great Pyramid (C2). You create the program below and then need to debug. You realized that the right turn needs to be moved in the program sequence to the third rather than the fourth step in the sequence. Once you create your program, select refresh to take Blue-Bot back to its starting position and then replay your program sequence.
Step by step instruction:
Text document outlining Step by step instruction for activity 4 using an onscreen keyboard